How to Know If Soil Is Too Compact for Plants
About two years into growing houseplants, I started noticing that several of my older plants — a 'Birkin' philodendron and a well-established peace lily — were growing more and more slowly despite what seemed like good light and regular watering. When I finally slid them out of their pots to investigate, the potting mix had transformed from the loose, fluffy medium I'd originally used into a dense, dark brick that my fingers could barely penetrate. The roots were alive but clearly struggling — pale, sparse, and circling the compacted mass rather than growing through it. Compacted soil is one of those slow-developing problems that sneaks up on you precisely because the plant doesn't collapse suddenly — it just quietly loses ground over months.
What Compacted Soil Actually Is and Why It Happens
Potting soil compaction occurs when the pore spaces between soil particles — the tiny channels that hold air, allow water movement, and give roots room to navigate — collapse or fill in. In outdoor garden beds, compaction is often caused by foot traffic or heavy machinery. In houseplant containers, it happens through a combination of natural organic matter decomposition, repeated watering pressure, and the gradual breakdown of perlite and bark particles that originally gave the mix its structure.
Peat-based potting mixes are particularly prone to compaction over time. The fine peat particles break down progressively, losing their original fluffy structure and packing together into a dense mass. Coco coir-based mixes hold their structure somewhat longer but still compact eventually. Mixes heavy in bark or perlite resist compaction better and are generally more durable over multi-year use. Most standard potting mixes begin showing significant compaction within 12 to 24 months of use, which is one of the main reasons annual or biennial repotting is recommended for most actively growing houseplants. University of Maryland Extension's container gardening resources note that pore space degradation in potting media over time is a primary driver of declining plant performance in long-term container growing.
Signs That Your Houseplant Soil Is Too Compact
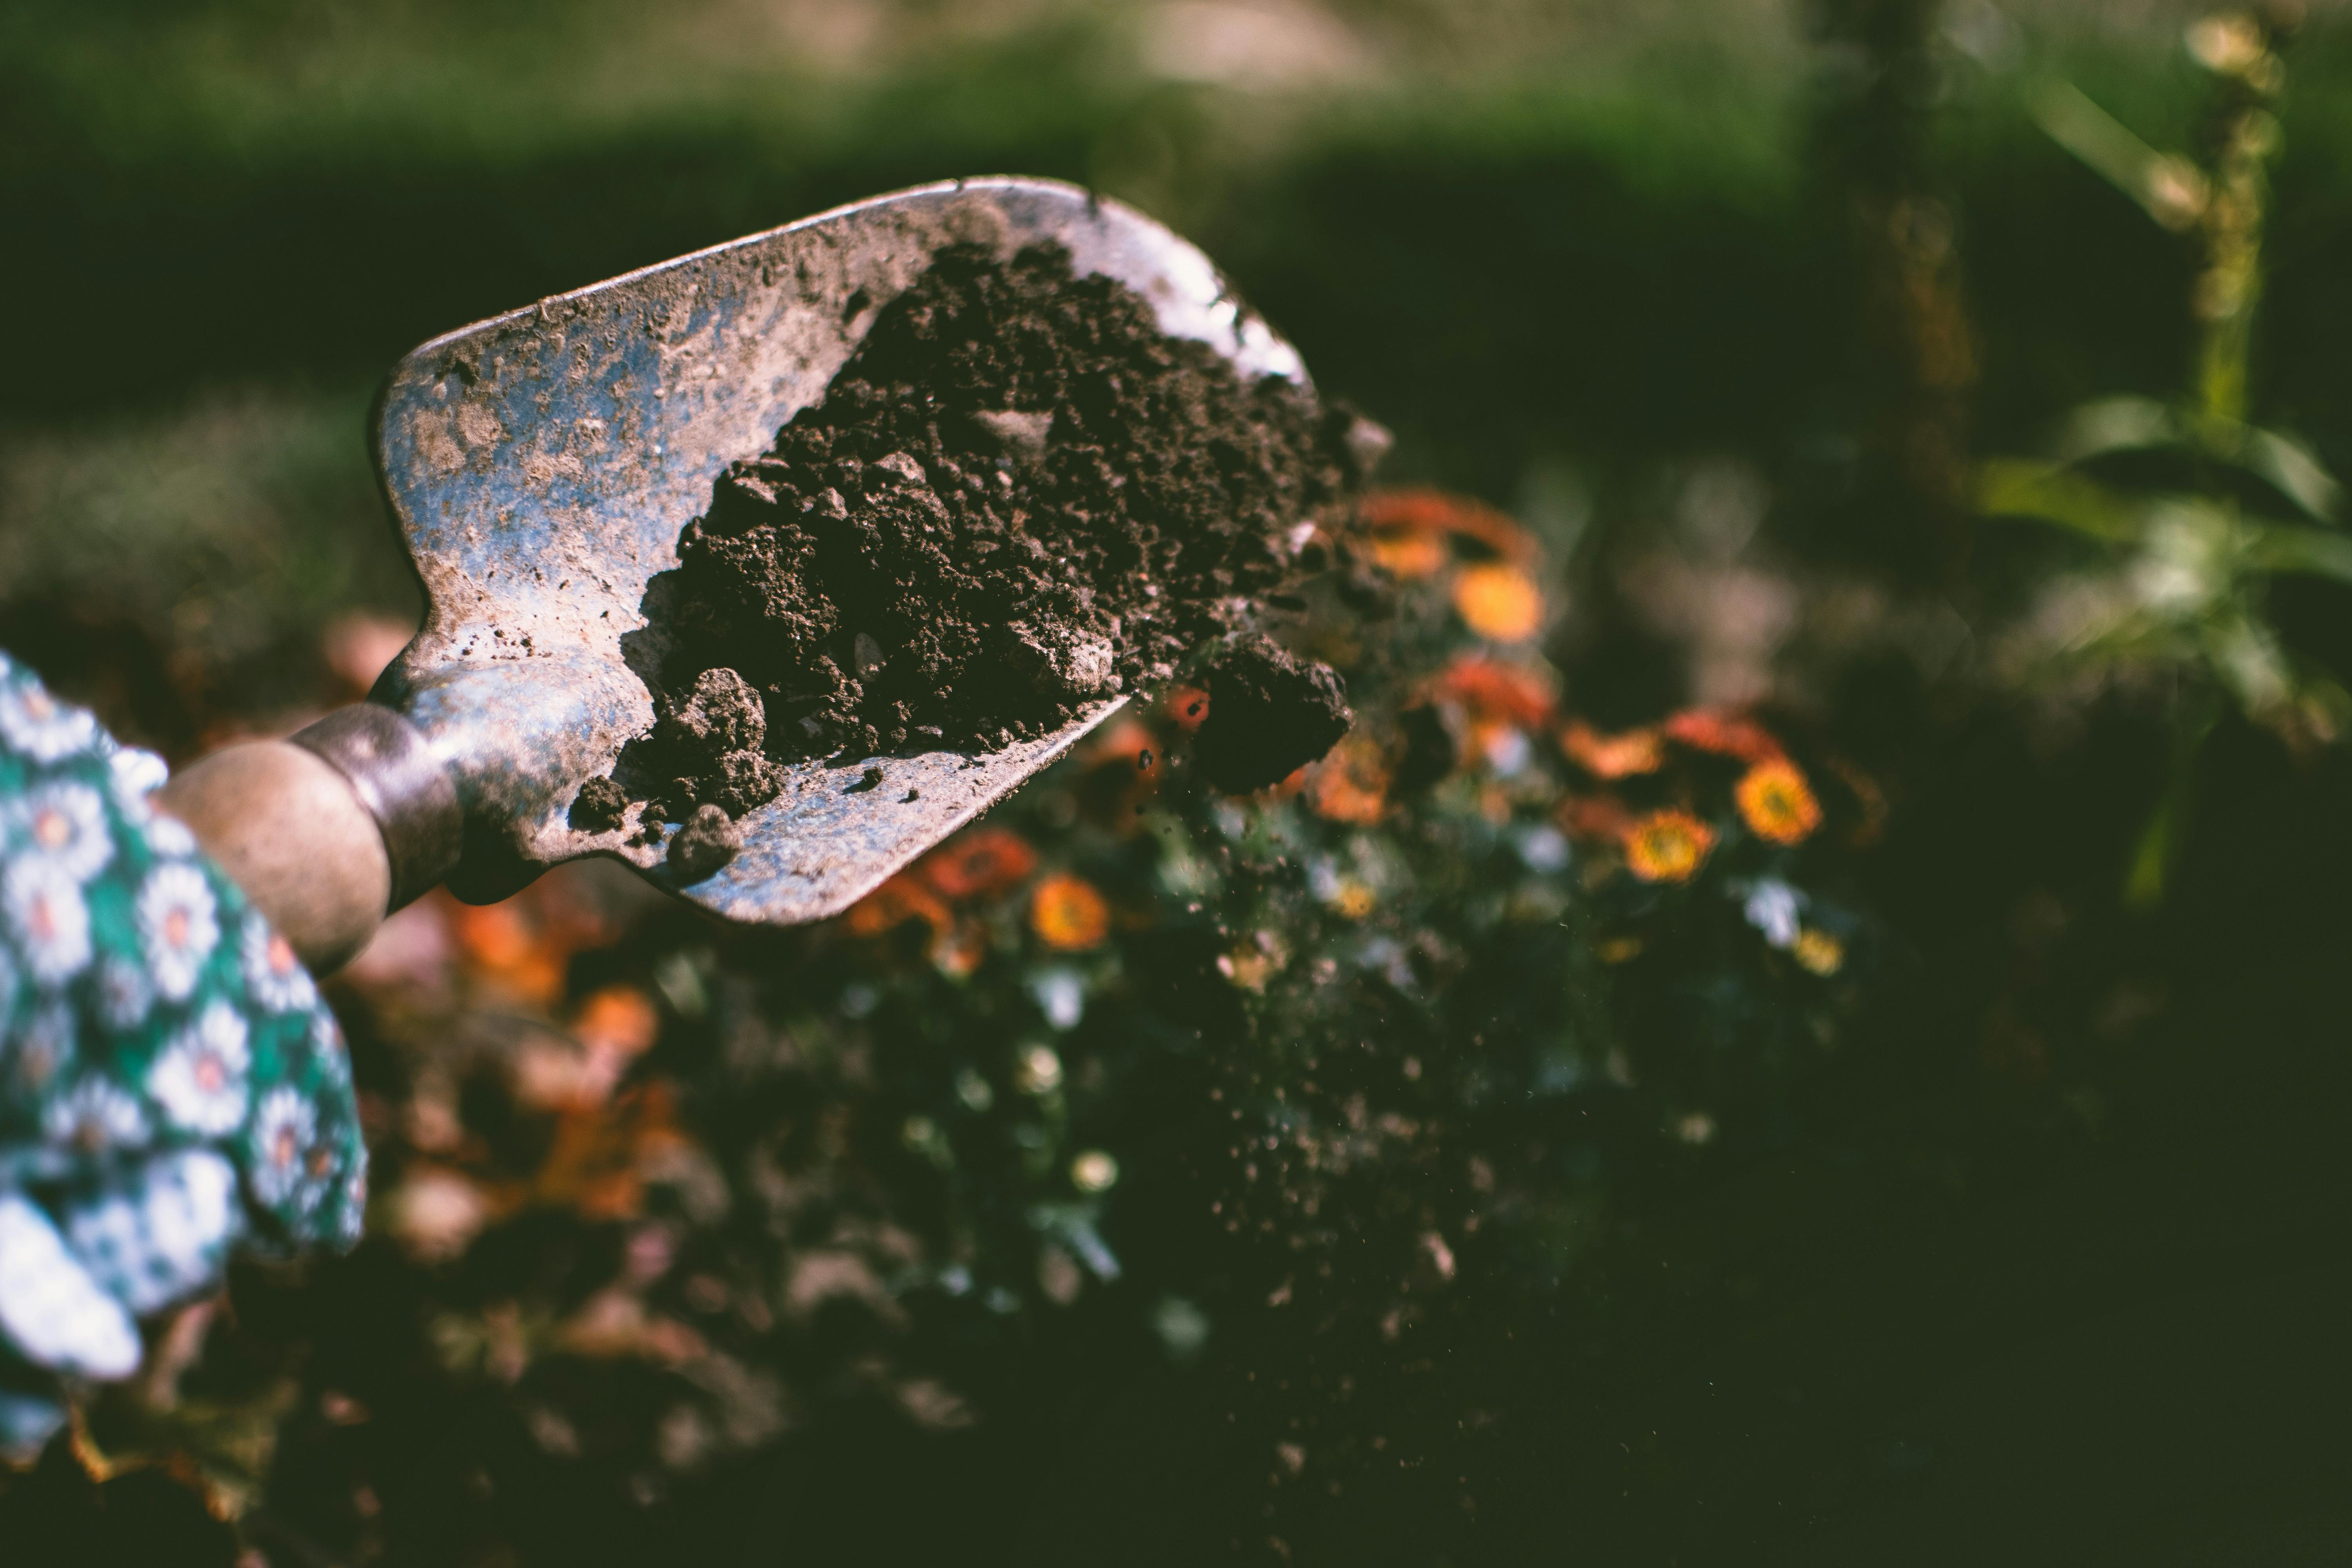
Several visible and tactile signs indicate compaction before you ever need to remove the plant from its pot. The most obvious is water behavior: if you water your plant and water pools on the surface for several minutes before slowly being absorbed — or channels along the pot edges and exits at the bottom immediately without being absorbed at all — the soil structure has degraded enough to impede normal water infiltration. Well-structured soil should absorb water progressively and evenly as you pour.
A second sign is the feel of the soil surface. Healthy potting mix feels loose and crumbly when you press it. Compacted soil feels dense and may resist your finger even when moist. You'll also notice that compacted soil forms a hard cake when dry — it may pull away from the pot walls as it shrinks and crack into distinct blocks, rather than drying gradually and evenly as healthy mix does.
Plant performance signs include: slowed or stalled growth despite good light and regular fertilization, wilting that doesn't resolve promptly after watering (roots can't take up water from compacted medium efficiently), yellowing lower leaves, and root circling visible when you slide the plant out of its pot. According to Gardening Know How's soil and container guides, compaction-related wilting is frequently misdiagnosed as underwatering, leading growers to overwater and compound the problem by further degrading the already-poor soil structure.
How Compaction Harms Plant Roots
Roots need three things from soil: moisture, nutrients, and oxygen. Compacted soil impairs the delivery of all three. When soil pore spaces collapse, the air channels that allow oxygen to reach the root zone are eliminated. Roots in oxygen-depleted soil experience the same physiological stress as roots in waterlogged conditions — they begin to decline even if surface moisture levels seem appropriate. This is why compacted, improperly draining soil produces the same symptoms as overwatering: the root zone is effectively anaerobic regardless of how carefully you water.
Water movement also suffers. Instead of moving through the medium evenly, water follows the path of least resistance — channels, cracks, and gaps between the compacted mass and the pot wall. The result is uneven wetting where some areas of the root zone receive water and others remain completely dry, even after a seemingly thorough watering session. Nutrient uptake declines as a consequence of both reduced root surface area (compacted soil physically resists root penetration) and the degraded water delivery that carries dissolved fertilizer to roots.
Easy Fixes for Compacted Houseplant Soil
There are three approaches to fixing compaction, ranging from quick immediate relief to longer-term solutions, and the right choice depends on how severe the compaction is and how root-bound the plant has become.
Aeration: The Immediate Fix
For mild to moderate compaction in a plant that isn't yet root-bound, soil aeration can provide significant short-term relief. Use a chopstick, wooden skewer, or narrow dibber to gently poke holes throughout the surface and middle depth of the soil, working carefully to avoid major roots. Space the holes about an inch apart across the entire soil surface and push down to a depth of four to six inches. This manually reopens channels for air and water movement throughout the root zone. After aerating, water thoroughly from the top to distribute moisture through the newly opened channels.
Aeration is a temporary measure, not a cure. If the soil has been compacting for more than a year, it will return to its compacted state within weeks of aeration. Use it as a bridge while you prepare for repotting, or to tide the plant over until the appropriate repotting season.
Top-Dressing: A Medium-Term Fix
For plants that don't need full repotting yet — perhaps the root system is still comfortably sized for the pot — top-dressing with fresh, well-amended potting mix can improve surface aeration and gradually work more open-structured material into the upper root zone. Remove the top two to three inches of old compacted soil carefully, avoiding major roots, and replace with fresh mix containing perlite and bark. This doesn't fix compaction deeper in the pot but significantly improves the water-absorption layer where most fine feeder roots are concentrated.
Full Repotting: The Permanent Solution
When compaction is severe — soil is brick-dense, water channels directly to the drainage hole, and plant growth has noticeably declined — full repotting with fresh medium is the only comprehensive fix. Remove the plant, gently loosen and remove as much of the old compacted medium as you can from the root ball without causing excessive root disturbance, and repot into fresh well-amended mix. A blend of quality potting soil with 25% perlite and 15% orchid bark resists future compaction far better than straight bagged potting mix. Missouri Botanical Garden's repotting guidelines recommend refreshing potting media every one to two years for most actively growing tropical houseplants, specifically citing medium degradation and compaction as the primary drivers of this timeline.
Common Mistakes When Dealing With Compacted Soil
- Watering more frequently to compensate: Increasing watering frequency doesn't improve compacted soil's ability to deliver moisture to roots — it just adds more water to an already poorly draining environment and increases rot risk.
- Ignoring it because the plant "looks okay": Compaction causes slow, cumulative decline that may not be obvious until the plant is significantly stressed. Address it proactively during annual repotting.
- Repotting into the same type of straight bagged mix: Standard potting mixes compact quickly. Always amend with perlite, bark, or coco coir when repotting to extend the life of the new medium.
- Poking too aggressively when aerating: Deep, careless aeration can sever major roots and cause more harm than the compaction itself. Work gently, especially near pot edges where large roots concentrate.
- Confusing compaction with hydrophobic soil: Both cause surface water pooling, but hydrophobic soil typically feels dry and powdery rather than dense. The remedy differs: hydrophobic soil needs rehydration, compacted soil needs aeration or repotting.
Quick Reference Compaction Diagnosis Table
| Symptom | Likely Cause | Recommended Fix |
|---|---|---|
| Water pools on surface for several minutes | Compacted surface layer | Aerate with chopstick; repot if persistent |
| Water channels along pot walls and exits immediately | Severe compaction or hydrophobic soil | Bottom soak; inspect root ball; consider repotting |
| Soil feels brick-dense when pressed | Advanced organic matter breakdown | Full repot with amended mix |
| Soil cracks and pulls from pot walls when dry | Peat-based mix that has degraded and shrunk | Repot; switch to coco coir-based or amended mix |
| Plant wilts after watering; slow recovery | Compaction preventing water uptake by roots | Aerate immediately; plan full repot within weeks |
Frequently Asked Questions
Can I mix sand into my potting soil to prevent compaction?
Coarse horticultural sand in small amounts can help with drainage, but fine sand — the kind most people have access to — actually worsens compaction by filling the pore spaces between larger soil particles. Perlite is a far better choice for improving aeration and preventing compaction. It's lightweight, doesn't break down quickly, and creates stable macro-pore spaces that resist collapsing under watering pressure. Use large-grade perlite rather than the fine variety for best results.
How often should I replace my houseplant's potting mix?
For most actively growing tropical houseplants, refreshing potting medium every one to two years is a reasonable guideline. Fast-growing plants in small pots may need annual repotting simply due to root growth. Slow-growing species like snake plants or ZZ plants can often go two to three years between repots if the mix stays in good condition. Let the soil structure — not a fixed calendar — guide the timing: when the medium begins compacting, channeling water, or showing surface caking, it's time to refresh regardless of when the last repot occurred.
Is compacted soil fixable without repotting, or do I always need to repot?
Mild compaction affecting primarily the surface layer can be meaningfully improved through aeration and top-dressing without a full repot. Moderate to severe compaction throughout the pot depth really does require repotting for lasting improvement. The key diagnostic question is whether water is reaching the root zone after aeration — water your plant after aerating and check whether the soil absorbs moisture evenly and the plant recovers its normal appearance within a day. If it does, aeration bought you time. If the plant still shows distress, repot as soon as practical.
Compacted soil is one of those slow, quiet problems that rewards the plant parents who learn to recognize it early. A quick annual inspection — pressing your finger into the soil, checking water absorption behavior, and sliding the plant out to look at the root zone — can catch compaction before it causes lasting harm. Drop your soil questions in the comments and check out our posts on the best amended soil mix for monstera and aroids and how to flush houseplant soil to reset mineral buildup.
About the Author
Written by Sage Avery, a plant care writer at Plant Companion Guide. For how we create and update content, see our editorial policy.