How to Separate Root Bound Plants Safely
The first time I tried to separate a severely root-bound peace lily that had three mature plants growing together, I made a mess of it. I pulled at the tangled root mass from both ends without any preparation and ended up tearing roots that could have been carefully separated and preserving roots that were already damaged and beyond saving. The plants survived, but the recovery took months. Doing it again several years later — with proper preparation, the right tools, and a methodical approach — I separated a seven-year-old spider plant into five healthy divisions without losing a single plant in the process. The technique matters enormously.
Understanding Root-Bound Conditions and When Separation Is Needed
A plant becomes root-bound when its root system has expanded to fill the available pot volume, leaving minimal soil between the roots. Root binding alone is not immediately dangerous for most plants — many species actually perform better slightly root-bound, producing more prolific blooms or offspring. The problem develops when roots become so dense that water cannot move efficiently through the medium, nutrient uptake declines, and roots begin circling or girdling each other.
Separation as a technique applies in two distinct scenarios. The first is a pot containing multiple plants grown together — either deliberately or because offsets and pups have been allowed to multiply over years. Peace lilies, spider plants, snake plants, bromeliads, and clumping ornamental grasses are common examples of houseplants that eventually form multi-crown clumps that benefit from division. The second scenario is a single plant with a dense, tangled root ball that needs freeing before repotting into a larger container — loosening circling roots prevents girdling and allows healthy establishment in the new pot. Gardening Know How's root division guides recommend dividing clumping houseplants every two to four years as a standard maintenance practice that simultaneously rejuvenates older plants and produces new specimens for sharing or expanding your collection.
Essential Preparation Before Separating Root-Bound Plants
Preparation makes the difference between a traumatic separation and a smooth one. Begin by watering the plant thoroughly one to two days before you plan to separate — slightly moist root balls separate significantly more easily than dry, rigid ones. Roots in moist soil are more pliable and less likely to snap when teased apart. Do not water immediately before separating, however — overly wet, saturated soil is messy and makes it difficult to see individual root systems clearly.
Gather your tools before you begin: clean, sharp scissors or pruning shears (sterilized with rubbing alcohol or diluted bleach solution), a long-handled fork or skewer for teasing roots apart, clean pots for the separated divisions with appropriate drainage holes, and fresh potting medium. Working on a clean surface — a large tray, a sheet of newspaper, or directly in a clean sink — keeps the process contained and makes it easier to work methodically. The Spruce's plant division guides emphasize the importance of pre-moistening root balls and having all materials ready before beginning, noting that rushing the process or working with inadequate tools causes the majority of preventable root damage during separation.
Step-by-Step: How to Separate Root-Bound Plants
Step 1: Remove the Plant From Its Pot
Lay the pot on its side and gently squeeze or press the sides if it's plastic to loosen the root ball. For terracotta, run a thin knife or skewer around the interior rim to break the root-to-clay adhesion. Tip the pot and support the plant's base with your hand as the root ball slides out. Never pull the plant by its stems — this can snap stems at the crown and cause more damage than root binding ever would. If the plant is severely stuck, you may need to cut the pot (plastic) or break it (terracotta) as a last resort.
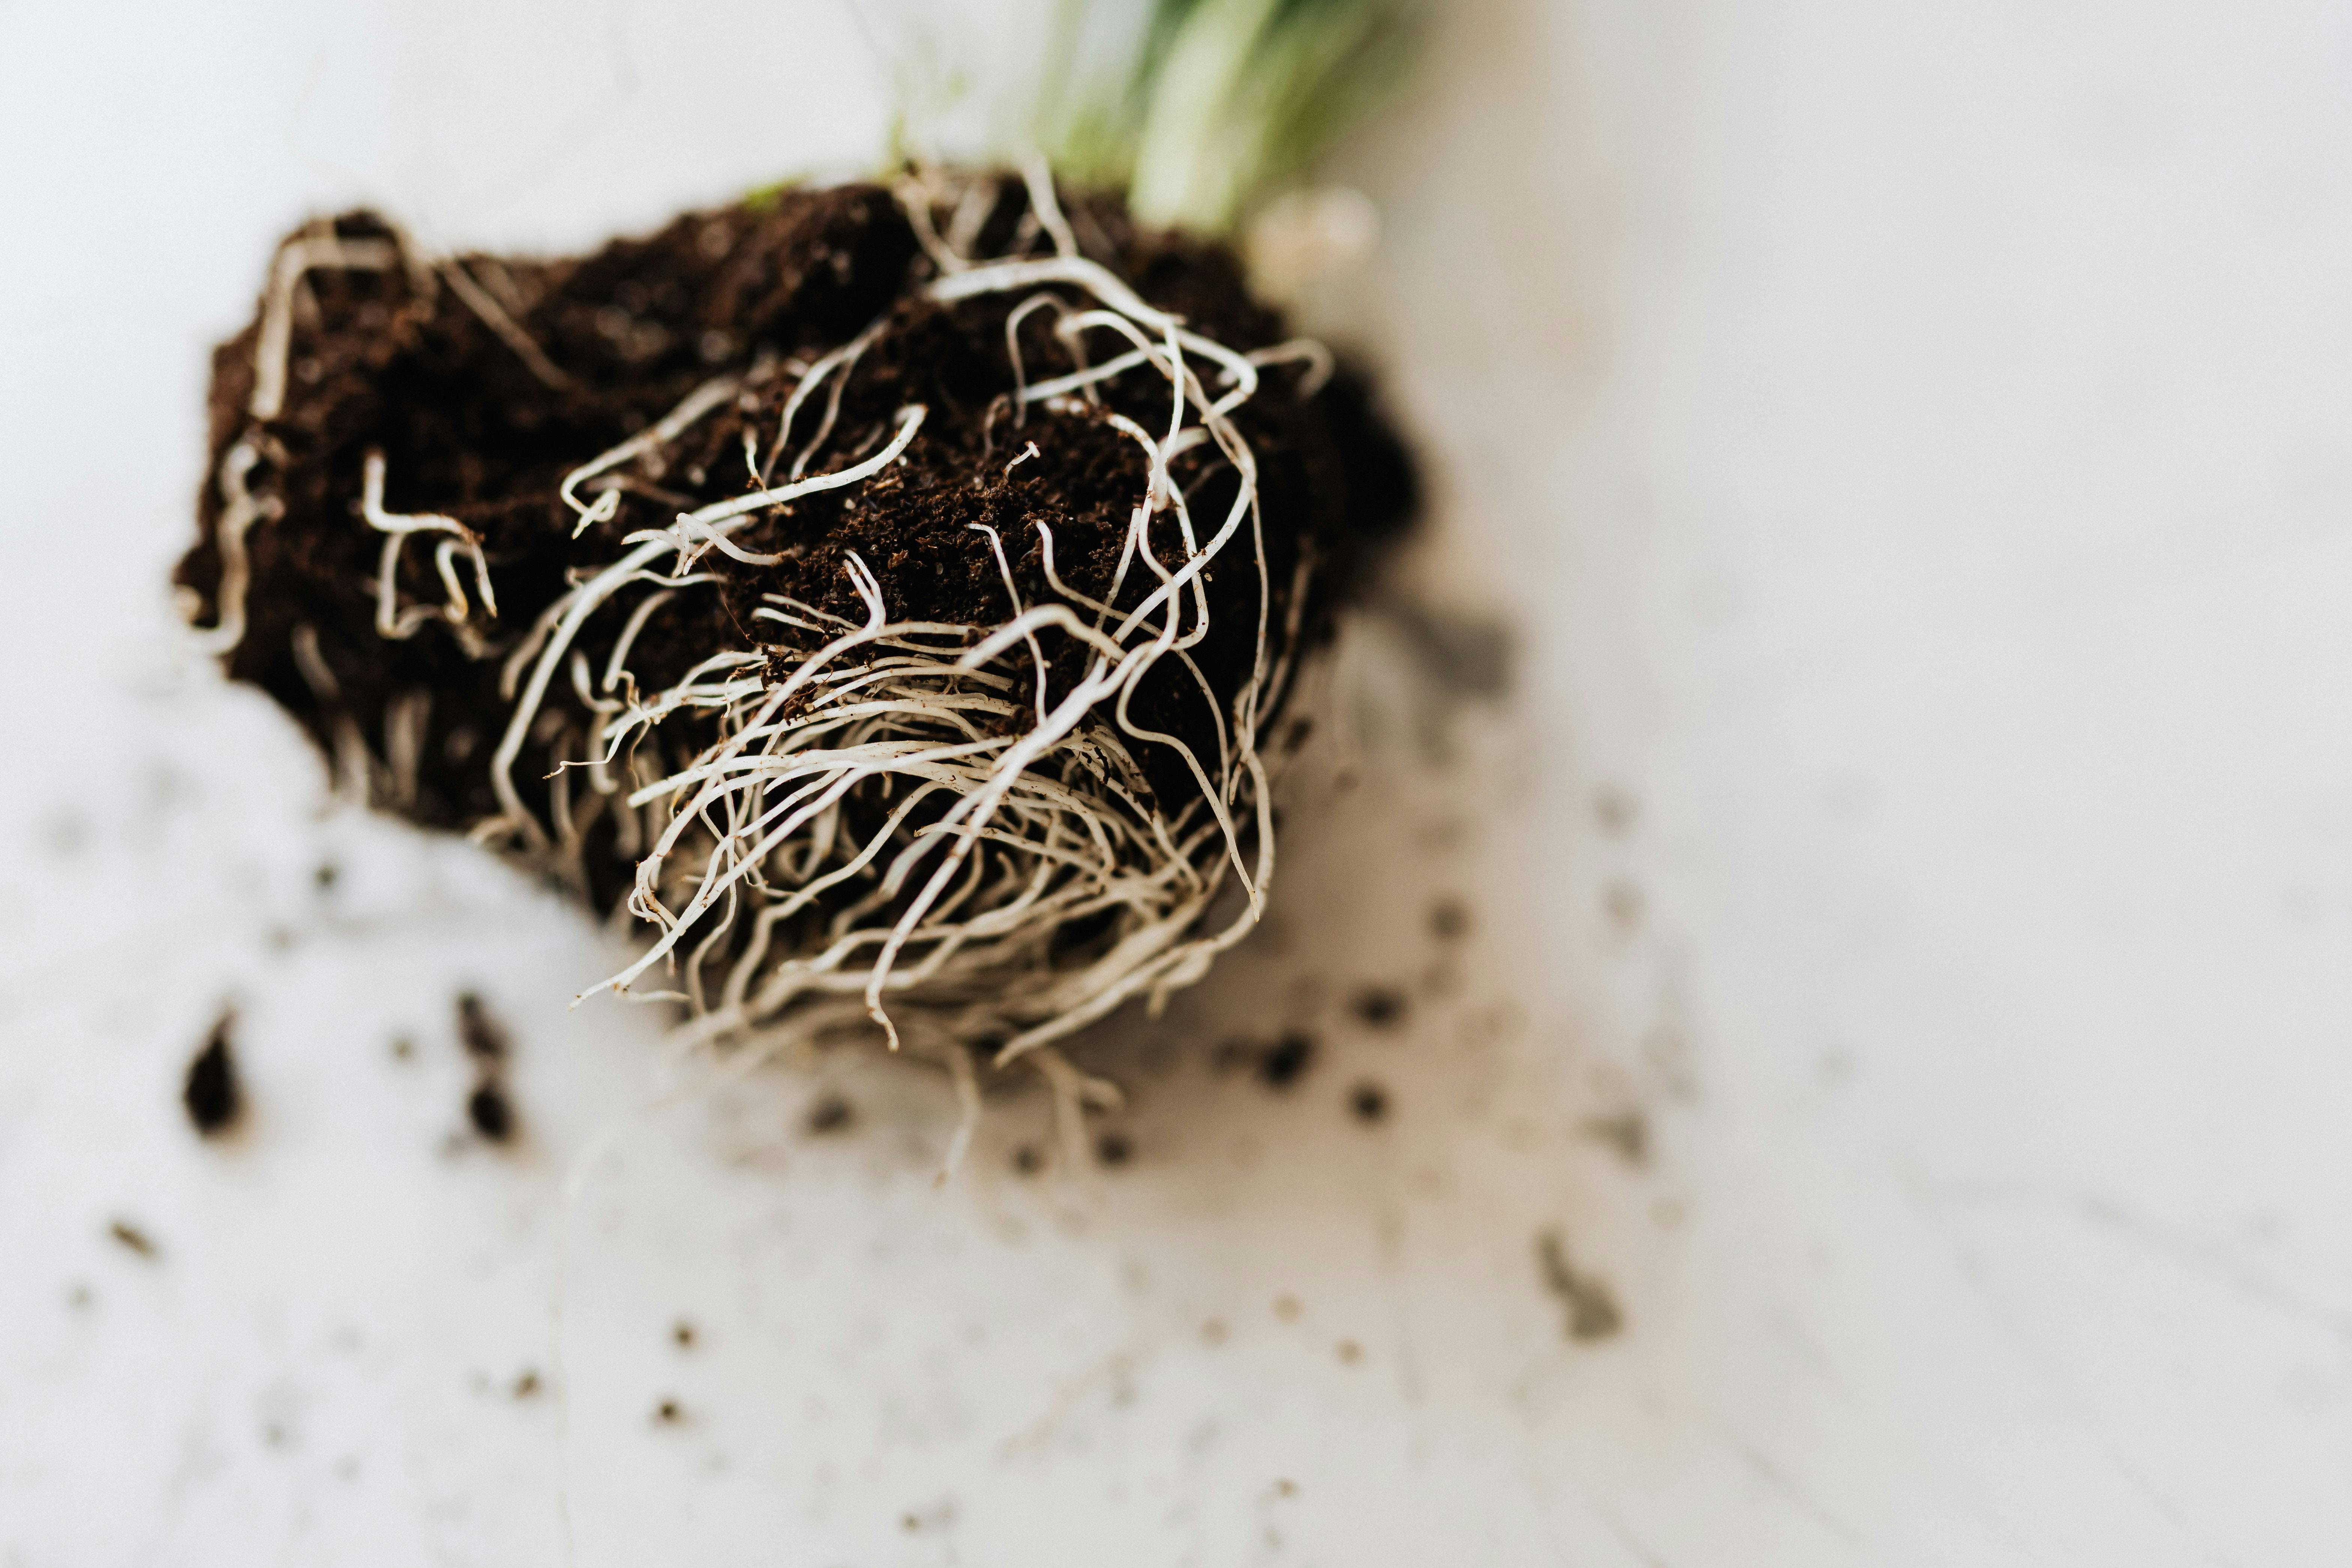
Step 2: Assess the Root Ball
With the root ball exposed, take a moment to assess before acting. Identify the individual crowns or growth points if you're dividing multiple plants — this tells you where the natural separation points are. Look for any visibly unhealthy roots: black and mushy (rot), very dry and brown (dead), or obviously circling and girdling (problematic for long-term growth). These should be trimmed before or during separation. Note the overall structure of the root mass so you can plan where to make cuts or apply pressure.
Step 3: Loosen the Root Ball
Before attempting to pull individual plants apart, work to loosen the overall root mass. Use your fingers to gently tease the outer roots away from the main ball, working from the bottom and sides inward. A long skewer or chopstick can help penetrate denser areas without slicing. The goal at this stage is to give yourself enough loose root tissue to work with without forcing premature separation. Most root balls that look hopelessly tangled become manageable after five to ten minutes of patient teasing.
Step 4: Divide the Plants
Once the root ball is loosened, identify the natural separation points between individual plants — usually visible as a distinct cluster of roots attached to a specific crown. Gently pull the crowns apart using both hands, working slowly and allowing root connections to release rather than snap. If roots are truly inseparable without force, use clean, sharp scissors to cut between the crowns. A clean cut causes far less long-term damage than a torn root — cut confidently when needed rather than pulling until roots break raggedly.
Each division should have at least two to three leaves and a healthy portion of root mass. Very small divisions with minimal roots are possible but take longer to establish — if you have a choice, larger divisions with more root mass recover faster and more reliably.
Step 5: Trim, Pot, and Aftercare
Trim any dead, mushy, or obviously damaged roots from each division before potting. Pot each division into an appropriately sized container — this is the moment when right-sizing matters most. A division that was a quarter of the original root ball should go into a pot that fits that root mass comfortably, not a pot sized for the original full plant. Water gently after potting to settle the medium and place each division in appropriately bright indirect light. According to Missouri Botanical Garden's plant division resources, newly divided plants should be kept in consistently warm conditions with minimal additional stress — avoid fertilizing, repotting again, or moving to very different light conditions — for at least four to six weeks after division to allow root re-establishment.
Expect some temporary wilting and possible leaf drop in the first one to two weeks after division — this is a normal response to root disturbance and almost always resolves as the division establishes in its new pot. Keep soil consistently moist (not wet) during this period to support recovery without adding waterlogging risk.
Common Mistakes When Separating Root-Bound Plants
- Pulling without preparation: Attempting to separate dry, unprepared root balls produces tearing and breakage. Pre-moisten and loosen before pulling.
- Pulling by stems instead of roots: Stems snap at the crown far more easily than roots. Always support from the root zone when separating.
- Avoiding all cuts and tearing instead: Torn root surfaces are more susceptible to rot than clean cuts. When roots must be cut to achieve separation, a clean cut with sterile scissors is preferable to tearing.
- Potting divisions into oversized pots: Divisions have reduced root mass — pot them snugly. Oversized pots lead to waterlogging while the smaller root system is re-establishing.
- Fertilizing immediately after division: Freshly divided plants have compromised root systems. Wait at least four to six weeks before introducing any fertilizer.
Quick Reference Separation Guide Table
| Step | Key Action | Common Mistake to Avoid |
|---|---|---|
| Pre-separation watering | Water 1–2 days before; allow slight moisture | Saturating soil immediately before separation |
| Removing from pot | Support root ball from below; tip or squeeze pot | Pulling plant by stems |
| Loosening root ball | Tease outer roots patiently with fingers or skewer | Jumping straight to pulling crowns apart |
| Dividing | Find natural separation points; cut when needed | Tearing rather than cutting when force is required |
| Potting divisions | Right-size pot to each division's root mass | Using original full-size pot for each small division |
| Post-division care | Consistent moisture; warmth; no fertilizer for 4–6 weeks | Fertilizing into damaged roots; moving to different light conditions |
Frequently Asked Questions
How do I know when a plant is ready to be divided versus just repotted into a larger container?
Plants with a single crown or growing point — like a single-stemmed monstera or rubber plant — should be repotted into a larger container, not divided. Division is appropriate for clumping or multi-stemmed plants that produce multiple crowns — peace lilies, snake plants producing pups, bromeliads with offsets, spider plants with dense crowns, and ornamental grass-type plants. If you can count distinct individual plants within the same pot, division is appropriate. If there's one plant with many roots, size up the pot.
Can I divide a plant in winter?
Division, like repotting, is best done in spring when active growth supports faster recovery. Winter division can be done for urgent reasons — particularly if multiple plants in a shared pot are visibly competing and one is declining — but recovery will be slower and conditions must be carefully managed. Apply the same precautions as winter repotting: right-sized pots, well-draining medium, minimal watering, warm position, and a long fertilizer pause.
One of my divisions wilted severely after separation — is it dying?
Dramatic wilting in the first few days after division is common and usually not a death sentence. The plant has lost root mass and is struggling to maintain turgor pressure in its leaves. Keep the medium consistently moist (not wet), place the plant in moderate indirect light, and wait. Most severely wilted divisions recover within one to two weeks as roots re-establish and the plant adjusts to its reduced root-to-shoot ratio. If wilting persists beyond two weeks and is accompanied by yellowing and softening of the base, investigate the root zone for rot introduced during separation.
Dividing root-bound plants is one of those skills that feels intimidating the first time and becomes genuinely satisfying once you've done it successfully. The methodical approach — prepare, loosen, assess, cut cleanly when needed, and pot right — produces reliably good results across almost any species. Share your division successes in the comments below, and check out our related guides on when to repot newly purchased plants and whether winter repotting is safe for your houseplants.
About the Author
Written by Sage Avery, a plant care writer at Plant Companion Guide. For how we create and update content, see our editorial policy.