Orchid Care for Beginners: A Simple Guide to More Blooms and Less Stress
My first Phalaenopsis orchid bloomed beautifully for eight weeks straight — cascading white flowers that made my entire apartment feel elevated — and then dropped every single bloom and sat there, doing absolutely nothing, for the next eighteen months. I watered it. I worried about it. I moved it around. Nothing. It was alive but it was not flowering, and I had no idea why. The turning point came when I stopped overcomplicating things and learned two key facts: Phalaenopsis orchids need a brief temperature drop in fall to trigger their blooming cycle, and the bark-based potting medium they grow in dries out faster than standard soil and needs to be watered accordingly. Once I understood those two things, I haven't had an orchid fail to rebloom since. Here's the complete beginner framework that actually works.
Demystifying Orchids: They're Easier Than You Think
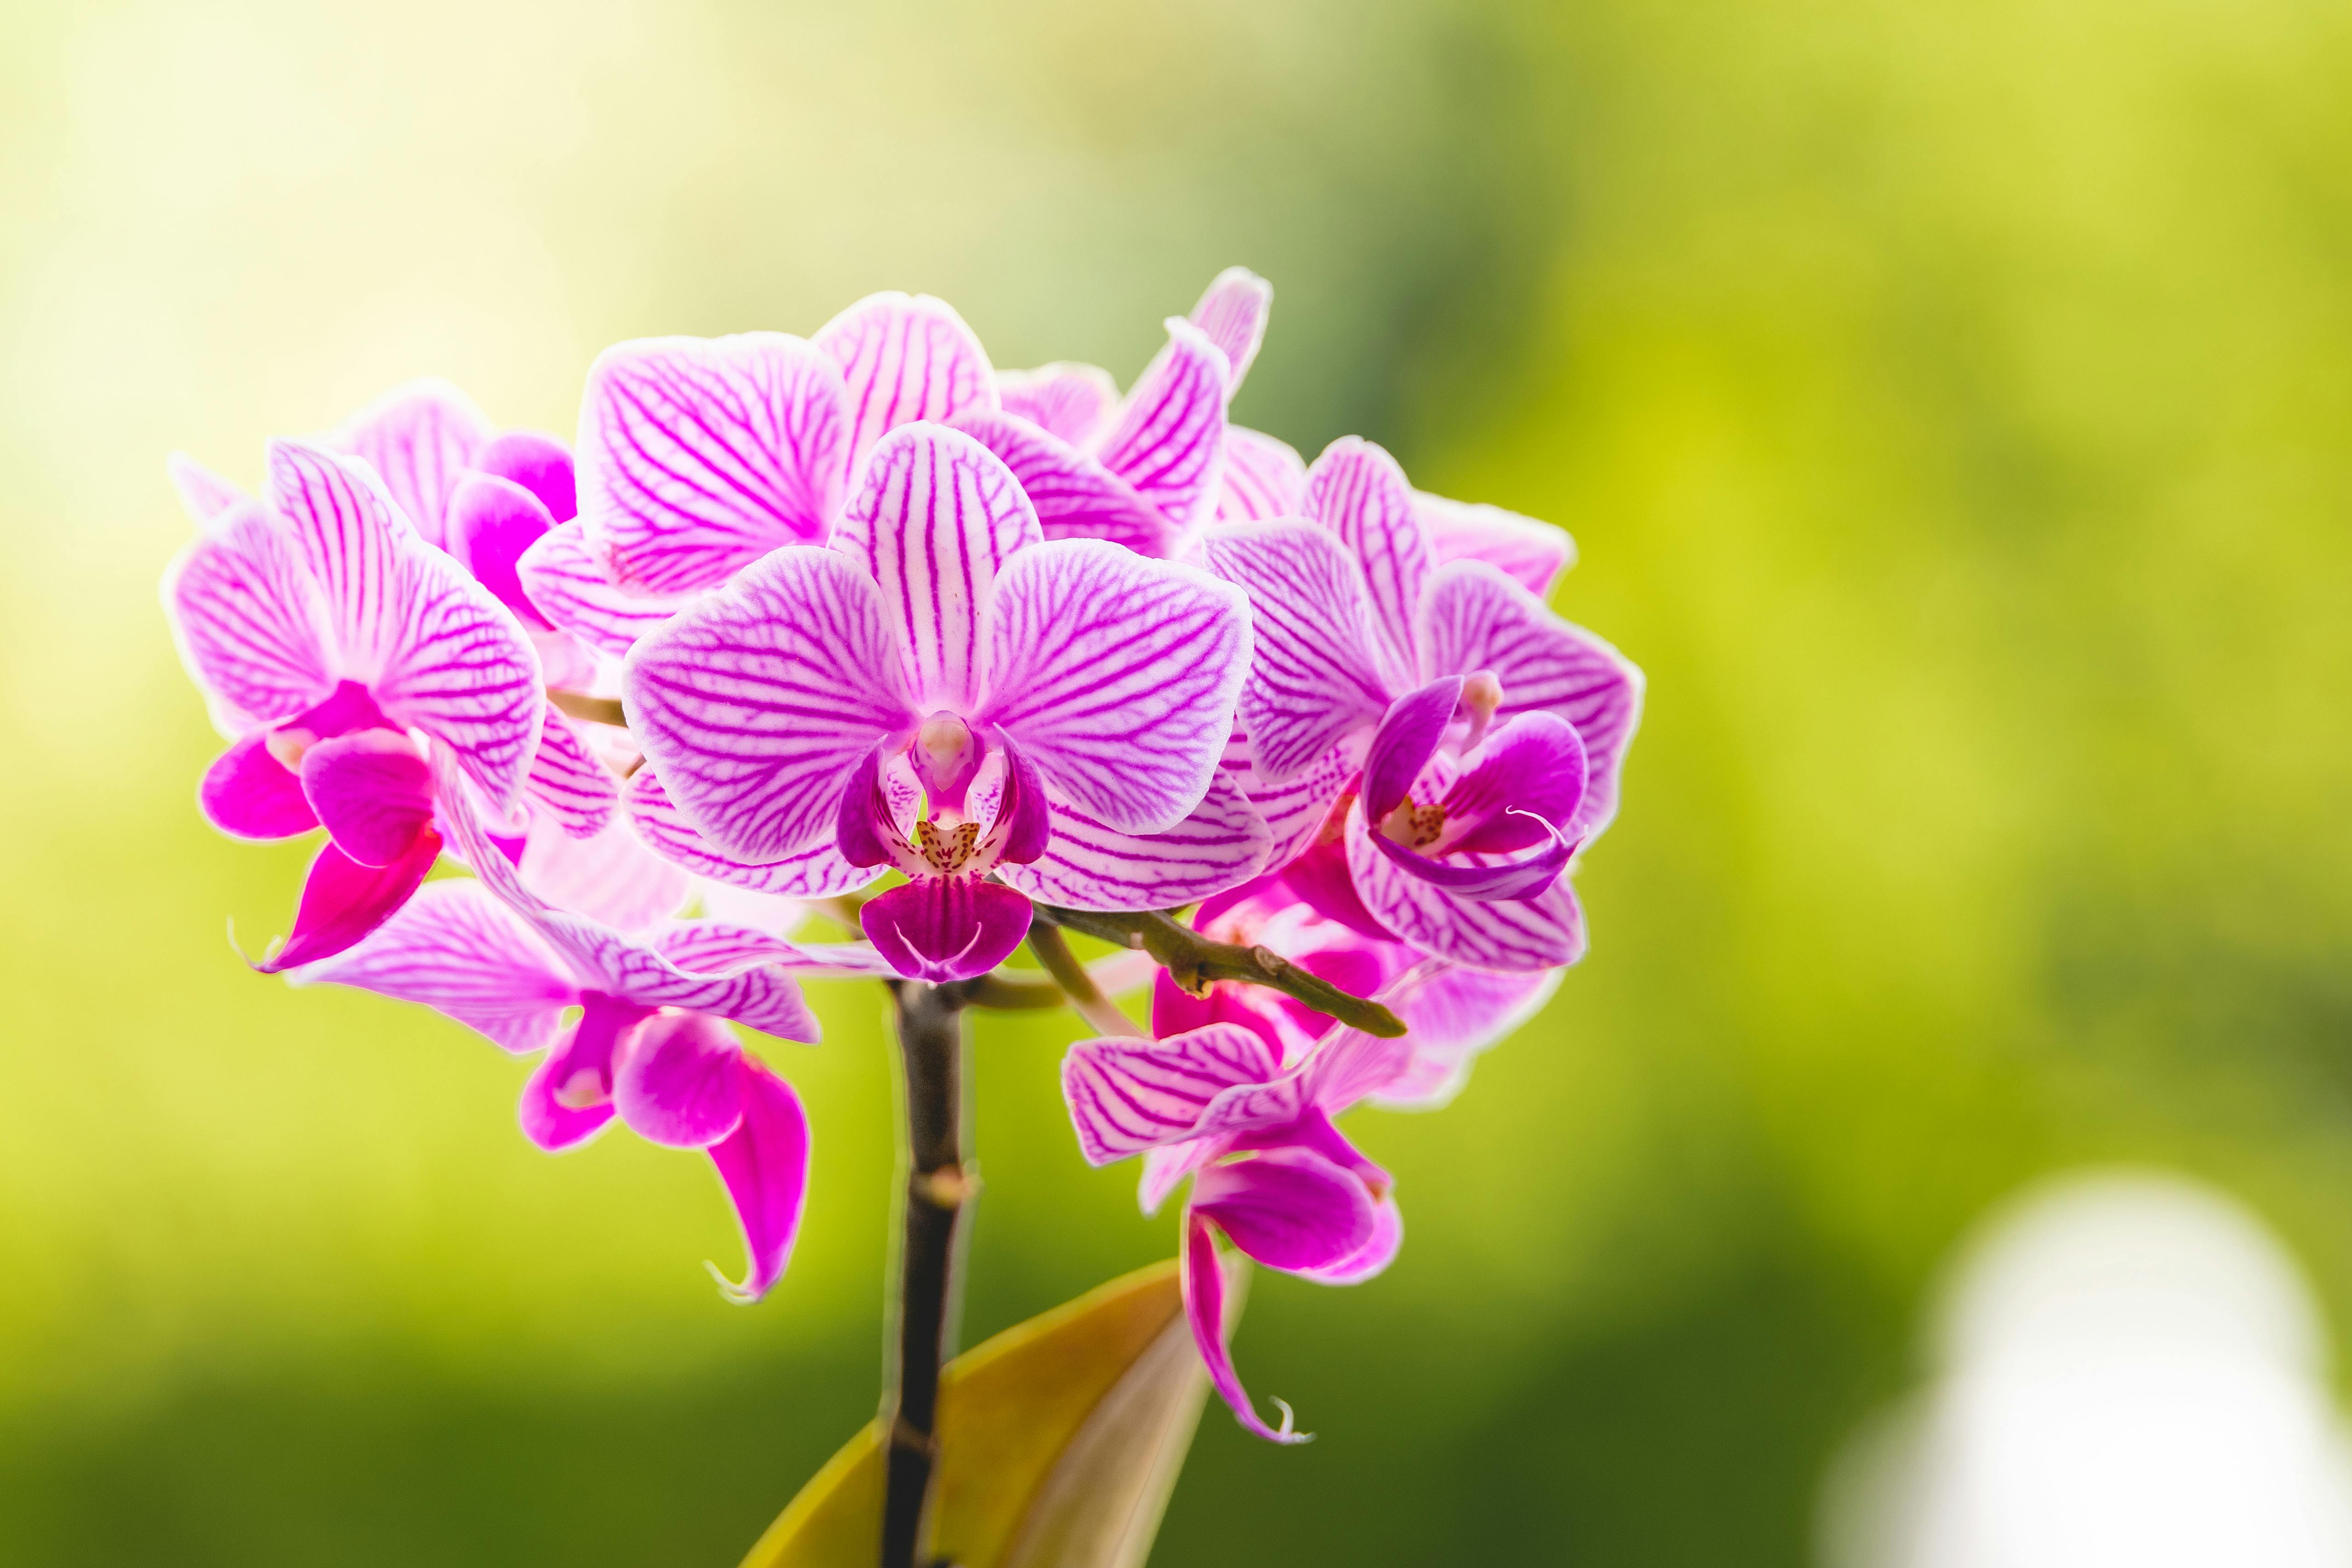
The orchid family (Orchidaceae) is one of the largest plant families on Earth, but for most home growers, "orchid care" means caring for Phalaenopsis — the moth orchid — which represents the vast majority of orchids sold in grocery stores, garden centers, and home improvement stores across North America. The good news: Phalaenopsis is genuinely one of the easier orchid genera to grow at home. It tolerates the temperature ranges, humidity levels, and light conditions found in typical North American homes far better than most other orchid types.
The bad news: most beginners kill them with overwatering and then assume orchids are difficult. They're not difficult — they just need to be watered differently than your other houseplants. According to the Royal Horticultural Society's orchid care guidance, the single most common cause of orchid death among home growers is root rot from excessive watering, a problem that's easily prevented once you understand how orchid roots actually function.
Phalaenopsis orchids are epiphytes — they grow attached to tree branches in their native tropical Asian habitat, with roots exposed to air. Those roots photosynthesize (they're green!), breathe, and absorb moisture from rain and humidity. They do not appreciate being buried in dense, wet soil, which is why the standard growing medium for orchids is a very loose, bark-based mix that drains immediately and dries completely between waterings.
Light and Temperature: The Two Variables That Drive Reblooming
Phalaenopsis orchids prefer bright, indirect light — similar to what many tropical houseplants need. An east-facing windowsill is nearly perfect: bright morning light without the intensity that would bleach or burn the leaves. A south- or west-facing window with a sheer curtain providing diffusion also works well. Direct midday or afternoon sun will damage the leaves, causing bleached patches or brown scorch marks.
One reliable light check: hold your hand about a foot above the orchid's leaves in the plant's location. A clear, defined shadow means light is adequate; a fuzzy or barely visible shadow means it's too low. Orchids in insufficient light will maintain their leaves but won't produce new flower spikes.
Temperature is the secret trigger for reblooming. Phalaenopsis orchids need a period of cooler nighttime temperatures — around 55–60°F (13–15°C) — for four to six weeks in fall to stimulate the development of a new flower spike. Most North American homes provide this naturally when outdoor temperatures drop in October and November and indoor nighttime temperatures follow. If you keep your home consistently warm year-round (above 70°F even at night), your orchid may not rebloom without a deliberate cooling period. A spot near a cool but not drafty window in fall works well.
Watering Orchids: Forget the Ice Cube Method
The "three ice cubes per week" watering method you'll see on care tags in many stores is a well-intentioned attempt to simplify orchid watering, but it doesn't reflect how orchids actually want to be watered. Ice water applied to tropical roots is a minor stressor, and the small volume doesn't flush the bark medium adequately, allowing fertilizer salts to accumulate over time.
The method that actually mimics an orchid's natural experience: take the orchid to the sink every ten to fourteen days, run room-temperature water through the bark for about 30 seconds, allow it to drain completely for five to ten minutes, and return it to its saucer or cachepot. The roots should appear plump and green after watering; when they look silvery-gray and slightly shriveled, it's time to water again. Never let the plant sit in standing water — orchid roots that are constantly submerged will rot within days.
Gardening Know How's orchid care resources describe this thorough, infrequent watering approach as the standard recommended method among orchid growers, and it aligns with everything I've tested over several years and multiple Phalaenopsis plants. For tips on choosing the best orchid potting mix for reblooming, our guide covers bark grades, perlite blends, and when to repot.
Feeding, Potting, and Getting Your Orchid to Rebloom
Fertilize your orchid with a balanced, water-soluble orchid fertilizer (20-20-20 or specifically formulated orchid feed) diluted to quarter strength every two to three weeks during active growth. The common advice is "weakly, weekly" — frequent but very diluted applications. I fertilize every ten days at quarter strength during spring and summer, then reduce to once monthly in fall and winter.
Repot your orchid every one to two years, or when the bark has broken down and become dense (it should look and feel light and chunky, not compacted and wet). Use fresh orchid bark mix and a pot only one size larger — orchids prefer somewhat snug conditions. Clear plastic nursery pots are actually ideal because you can see the root condition and moisture level without unpotting the plant.
Once your orchid has finished blooming and dropped its flowers, don't cut the spike immediately. If the spike remains green, it may produce a secondary branch of flowers from a node lower on the spike. Wait until the spike turns yellow and dries before trimming it to the base. Then move the plant to a cool spot in fall to initiate the next blooming cycle. For a detailed walk-through, see our guide on how to rebloom a Phalaenopsis orchid. According to the Old Farmer's Almanac's orchid care section, most Phalaenopsis orchids can be rebloomed annually with consistent care and the seasonal temperature cue that triggers spike development.
Common Mistakes with Orchid Care
- Watering with ice cubes: Use room-temperature water applied in a thorough flush every 10–14 days instead.
- Letting the plant sit in water: Orchid roots need to dry out between waterings. Standing water in a saucer causes root rot within days.
- Cutting the spike too early: A green spike may produce a secondary flush of blooms. Wait until it turns yellow and papery before removing.
- Keeping the home too warm year-round: Without a fall cooling period (nighttime temps around 55–60°F), most Phalaenopsis won't produce a new spike.
- Using standard potting soil: Orchids must be grown in bark-based medium. Dense potting soil suffocates the roots and causes root rot rapidly.
Quick Reference Care Table
| Care Factor | Requirement |
|---|---|
| Light | Bright indirect; east-facing window ideal; no direct midday sun |
| Water | Thorough flush every 10–14 days; let bark dry between waterings; no standing water |
| Potting Medium | Orchid bark mix; repot every 1–2 years when bark breaks down |
| Humidity | 50–70% ideal; mist roots (not flowers) or use humidity tray |
| Temperature | Day: 70–85°F; Night: 60–65°F; Fall cooling to 55–60°F triggers reblooming |
| Fertilizer | Orchid fertilizer at quarter strength every 10–14 days in growing season; monthly in winter |
| Reblooming Trigger | 4–6 weeks of nighttime temps around 55–60°F in fall |
| Toxicity | Non-toxic to cats and dogs |
Frequently Asked Questions
What do healthy orchid roots look like vs. unhealthy roots?
Healthy orchid roots are firm, plump, and range from silvery-gray (when dry) to bright green (when freshly watered). Unhealthy roots are dark brown, black, hollow, or mushy — these are rotted and should be trimmed away cleanly with sterilized scissors. Leaving rotted roots in the pot accelerates the decay of healthy roots nearby, so be thorough when you find them during repotting.
My orchid has no roots left — can I save it?
Yes, often. An orchid with few or no functional roots can sometimes be rescued by a technique called the "water culture" or "semi-hydro" method: place the rootless orchid base in a small container with just a thin layer of water at the bottom (not touching the crown), keep it in bright indirect light, and refresh the water weekly. New root nubs often emerge from the base within four to eight weeks if the crown and leaves are still viable.
How long does an orchid bloom last?
A healthy Phalaenopsis orchid in bloom typically maintains its flowers for six to ten weeks, sometimes longer in cooler conditions with good indirect light. Individual flowers may drop earlier if the plant is exposed to cold drafts, ethylene gas from ripening fruit nearby, or direct heating vent air. Once blooming ends, the plant enters a rest period before beginning its next growth cycle.
Orchids become far less intimidating once you understand the handful of principles that actually matter — indirect light, infrequent thorough watering, a cool fall to trigger reblooming, and bark instead of soil. Master those and you'll have a plant that blooms reliably every year. If you've successfully rebloomed a Phalaenopsis or have a question about a stubborn spike that won't come in, share it in the comments below — orchid troubleshooting is one of our favorite topics, and we'd love to help.
About the Author
Written by Sage Avery, a plant care writer at Plant Companion Guide. For how we create and update content, see our editorial policy.