Composting for Beginners: Turn Kitchen Scraps Into Garden Gold
My first compost bin was a plastic tumbler I received as a gift and immediately stuffed with vegetable scraps. Within two weeks it smelled like a dumpster behind a restaurant. I'd made the quintessential beginner mistake: all greens, no browns. Once I added a wheelbarrow-load of dried leaves and stirred the whole soggy mass, the smell disappeared within forty-eight hours and the temperature inside the bin climbed to 130°F within a week — hot enough to cook pathogens and weed seeds, and clearly indicating that actual decomposition was occurring. Composting works on simple chemistry: carbon and nitrogen in the right ratio, moisture, and oxygen. Once you understand those four variables, a productive compost pile is straightforward.
Greens and Browns: The Foundation of Successful Composting
Composting materials are divided into two categories: nitrogen-rich "greens" (food scraps, fresh grass clippings, coffee grounds, plant trimmings) and carbon-rich "browns" (dried leaves, cardboard, straw, newspaper, wood chips). The ideal ratio for fast, hot decomposition is roughly 25–30 parts carbon to 1 part nitrogen by weight — practically speaking, this means layering approximately three times as much brown material as green. Most beginner problems trace directly to an imbalance: too many greens causes a smelly, wet, anaerobic mess; too many browns creates a dry pile that decomposes extremely slowly.
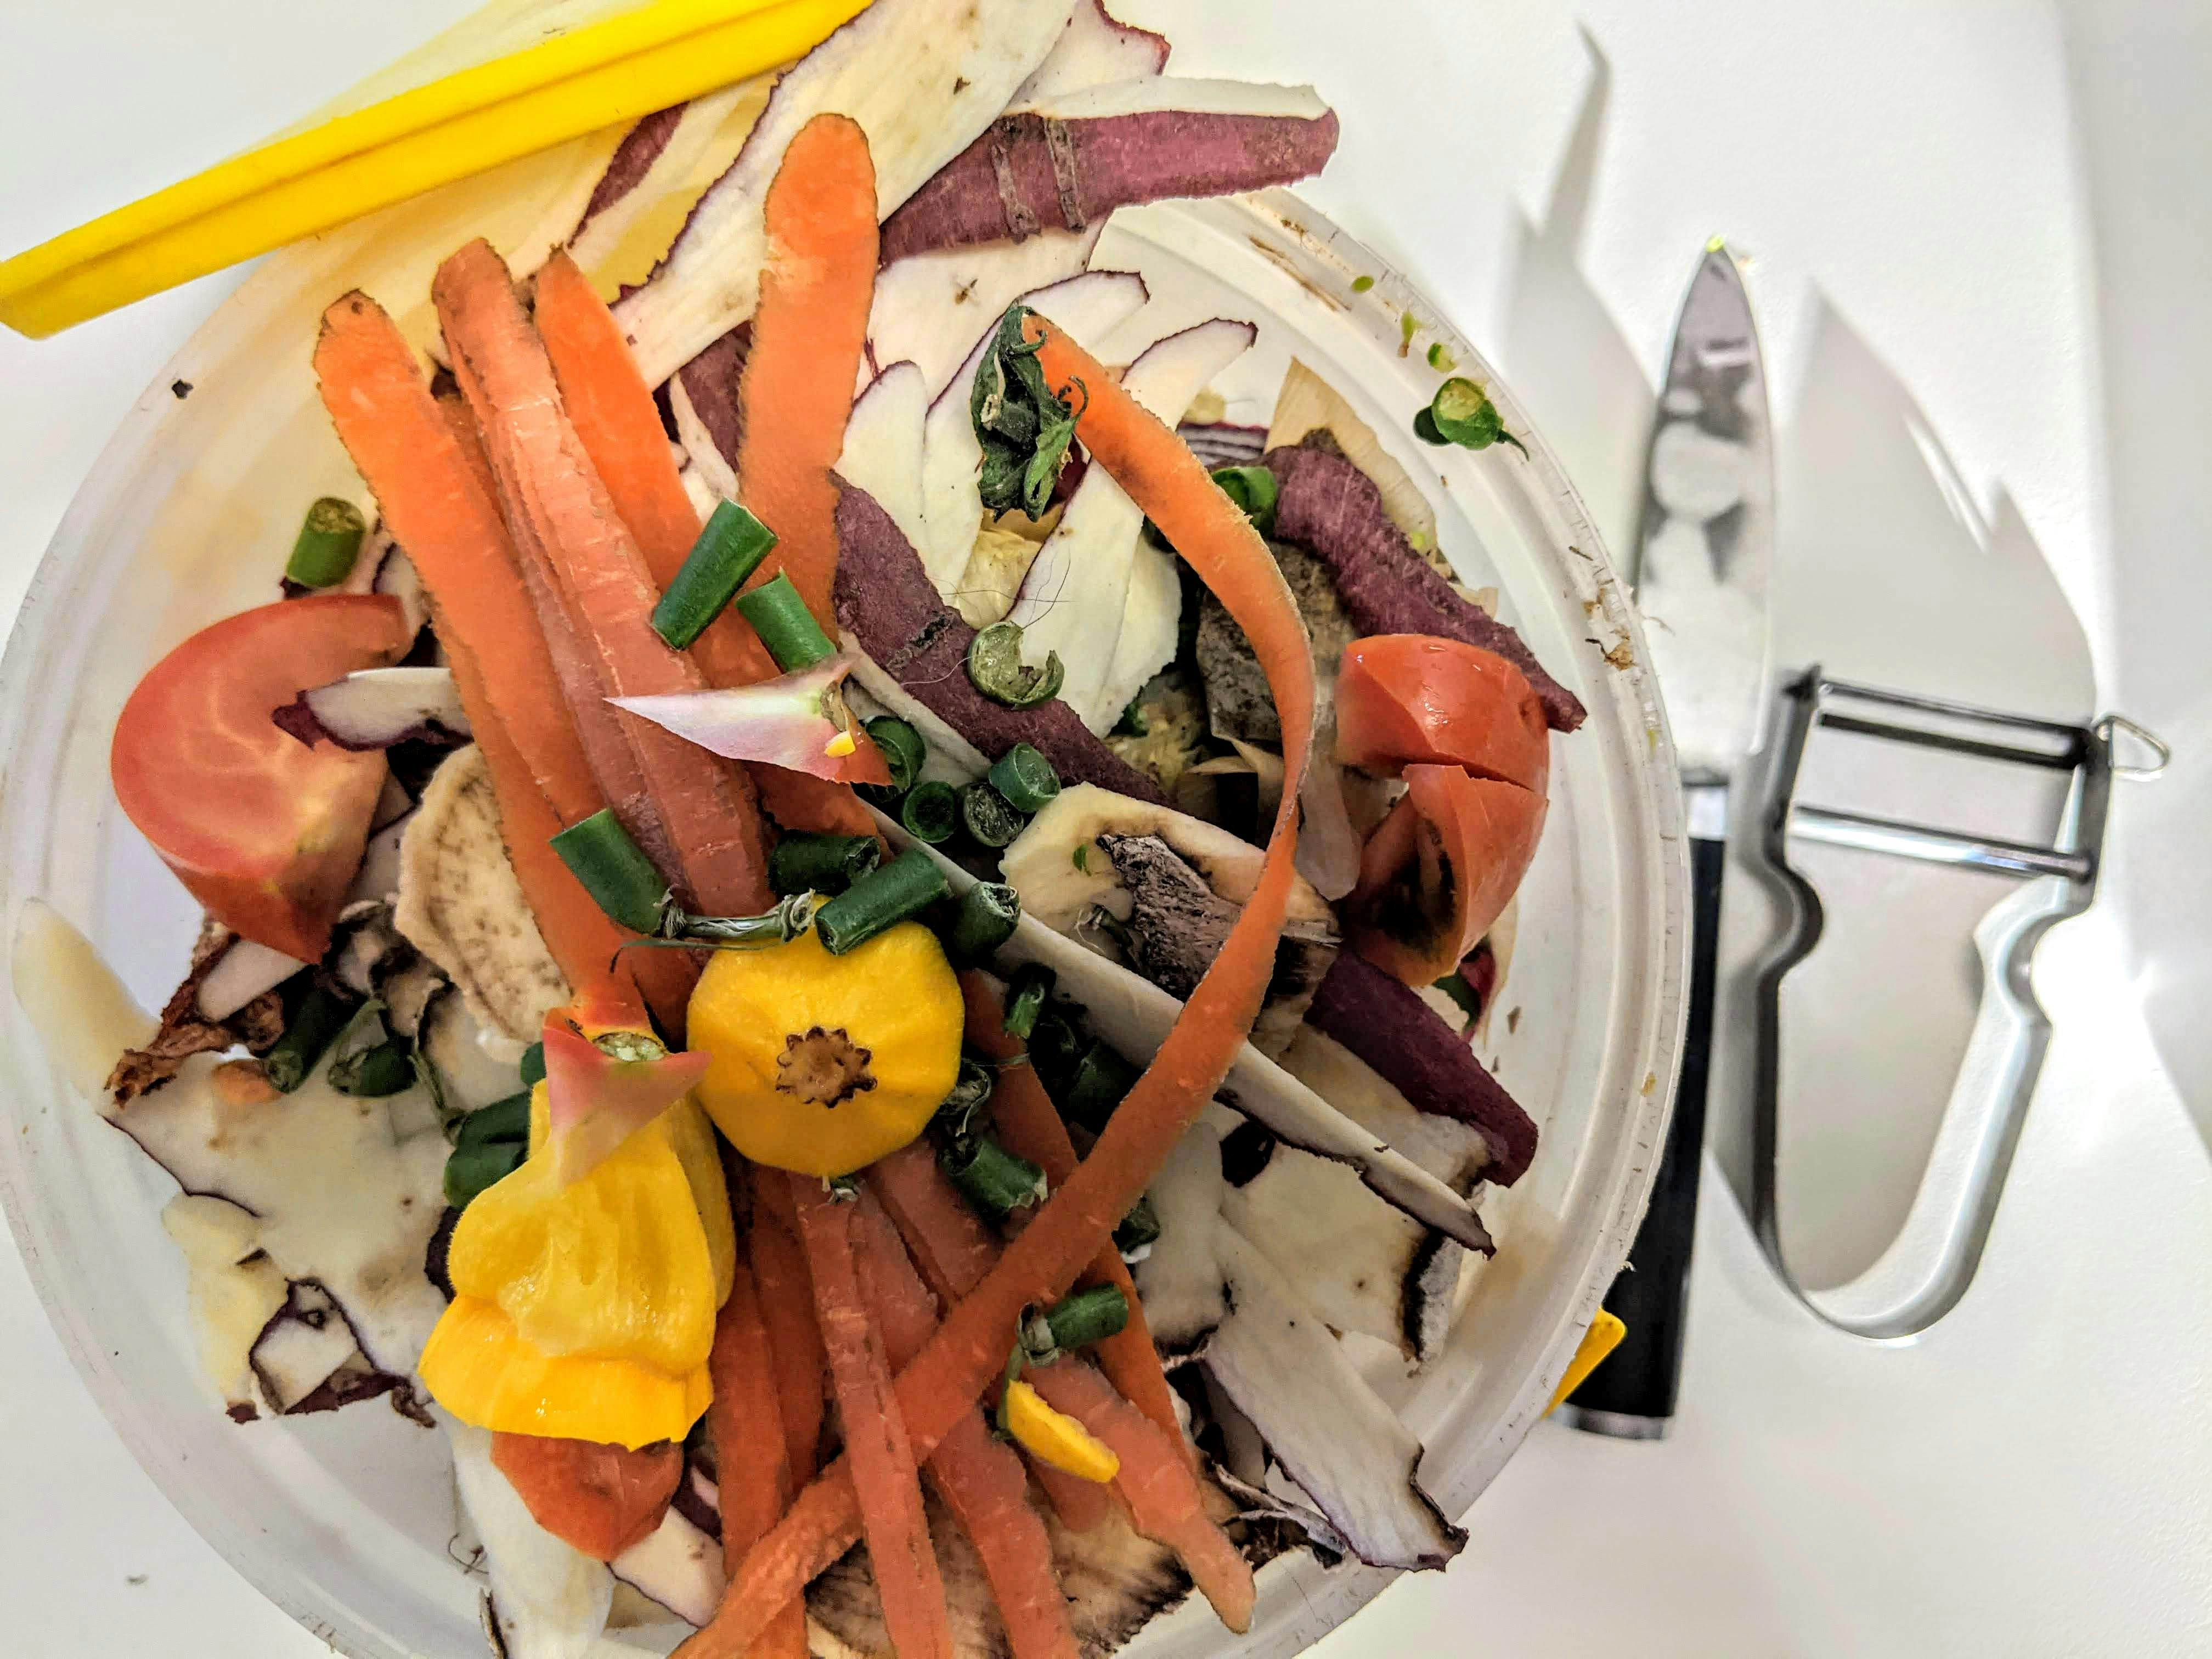
Good "greens" include vegetable and fruit scraps, coffee grounds and filters, fresh grass clippings, fresh plant trimmings, and eggshells (though shells take a long time to break down, they add calcium). Avoid adding meat, fish, dairy, oily foods, and cooked foods to a standard compost bin — these attract pests and create odor problems. Dog and cat waste should not be composted in home piles. According to The Old Farmer's Almanac's composting resources, the most common composting mistake across all experience levels is insufficient brown material — nearly everyone initially adds too many greens relative to carbon.
Choosing and Setting Up a Composting System
Three practical options for beginners: a simple wire bin (bend a length of wire fencing into a three-to-four-foot-diameter circle — nearly free and very effective); a wooden three-bin system (allows active turning between bins and systematic batch management); or a tumbling composter (enclosed, rodent-resistant, and the easiest to turn). Tumblers are more expensive but suit urban settings where aesthetics and pest prevention matter.
Site the bin or tumbler in a location with partial shade, good drainage, and reasonable access from the kitchen. Full shade slows decomposition; full sun dries the pile quickly and requires more frequent watering. Place directly on the ground if possible — soil organisms (bacteria, fungi, worms) access the pile from below and accelerate decomposition significantly. Line the bottom with brown material (leaves, cardboard) before adding your first scraps. Missouri Botanical Garden's composting guide provides excellent comparisons of composting method options for home gardeners.
The Active Composting Process: Moisture, Turning, and Temperature
A working compost pile should be roughly as moist as a wrung-out sponge — not soggy, not dry. In summer, you may need to add water to keep the pile from drying out; in wet weather, covering the pile prevents over-saturation. Turning the pile — using a garden fork to move material from the outside to the center and vice versa — introduces oxygen that aerobic decomposing bacteria require. Turn every one to two weeks for fast, hot composting; less frequently produces slower, cold composting that still works but takes six to twelve months instead of two to three.
A properly managed hot compost pile reaches 130–160°F (54–71°C) in its core within three to seven days of being built or turned. This temperature kills most weed seeds and pathogens. You can monitor with a long-stem compost thermometer. The pile cools as it finishes decomposing — a consistently cool pile that hasn't reached finished compost texture needs turning, moisture adjustment, or more nitrogen added. For using finished compost in your garden and containers, see our raised bed gardening guide. For feeding container plants specifically, visit our container fertilizing guide.
When Is Compost Ready and How to Use It
Finished compost looks, smells, and feels like dark, crumbly, sweet-smelling soil. It should have no recognizable food scraps remaining and should not have a sour or ammonia smell. The process typically takes two to three months with active management (hot composting) or six to twelve months with minimal turning (cold composting). Apply finished compost to the garden by top-dressing existing beds with two to three inches, working it into the top six to eight inches of soil before planting, or mixing into potting mix at a ratio of up to one-third compost. According to Gardening Know How's soil and composting resources, finished compost improves soil structure, water retention, and nutrient availability simultaneously — no single amendment does more for garden soil health.
Common Mistakes to Avoid
- Too many greens, not enough browns: Smell and anaerobic slime are the symptoms. Add three parts brown material to one part green by volume, and turn to aerate.
- Pile too dry: Dry piles don't decompose. Check moisture regularly and add water during dry periods.
- Adding meat, dairy, or cooked food: These attract rats, raccoons, and other pests and create persistent odor. Stick to plant-based kitchen scraps and yard waste.
- Not turning the pile: Infrequently turned piles take a year or more to produce finished compost. Even monthly turning significantly accelerates the process.
- Using too-fine a pile location with no airflow: Composting bacteria are aerobic — oxygen access from the sides and bottom matters. Don't seal your pile entirely.
Quick Reference Composting Materials Table
| Green Materials (Add) | Brown Materials (Add) | Never Add |
|---|---|---|
| Vegetable scraps | Dried leaves | Meat or fish |
| Fruit peels and cores | Cardboard (torn) | Dairy products |
| Coffee grounds and filters | Newspaper | Oily or cooked foods |
| Fresh grass clippings | Straw | Pet waste |
| Plant trimmings | Wood chips | Diseased plants |
| Eggshells | Paper bags | Invasive weeds with seeds |
Frequently Asked Questions
Can I compost in an apartment without outdoor space?
Yes, through vermicomposting (worm composting). A compact worm bin — a simple plastic tote with small ventilation holes, bedding of torn cardboard, and a population of red wiggler worms (Eisenia fetida) — processes vegetable scraps into rich worm castings within three to four months. Worm bins are odorless when managed correctly, fit under a kitchen counter, and produce worm castings that are pound for pound the most nutrient-dense compost amendment available. They cannot process citrus peels, onions, or large quantities at once.
Why does my compost smell bad?
Smell indicates anaerobic decomposition, which occurs when the pile has insufficient oxygen. This is caused by too many wet greens with not enough browns, compaction that restricts airflow, or a pile that's too wet. Add dry brown material (dried leaves or cardboard), turn the pile thoroughly to introduce oxygen, and the smell resolves within one to three days as aerobic bacteria reestablish dominance. A sour, vinegary smell indicates excess nitrogen and moisture; an ammonia smell indicates too much nitrogen (add more browns). Correctly managed compost smells like fresh, earthy soil.
How long does composting take?
With active hot composting (building a full pile at once with proper green/brown balance, maintaining moisture, and turning every one to two weeks), finished compost can be ready in two to three months. With passive cold composting (adding materials gradually over time, turning occasionally), expect six to twelve months. Factors that slow decomposition: cold temperatures (below 50°F / 10°C), insufficient moisture, inadequate aeration, and too-large pieces of material. Shredding or chopping materials before adding significantly accelerates decomposition.
Composting closes the loop between kitchen waste and garden fertility in one of the most satisfying ways available to a home gardener. The day you wheel your first wheelbarrow of finished compost to the garden bed you've been building with raw soil is a genuine milestone. Drop your composting questions in the comments below.

About the Author
Sage Avery is a passionate gardener and plant enthusiast sharing tips for a greener life.